Nigel Wilson Night Course
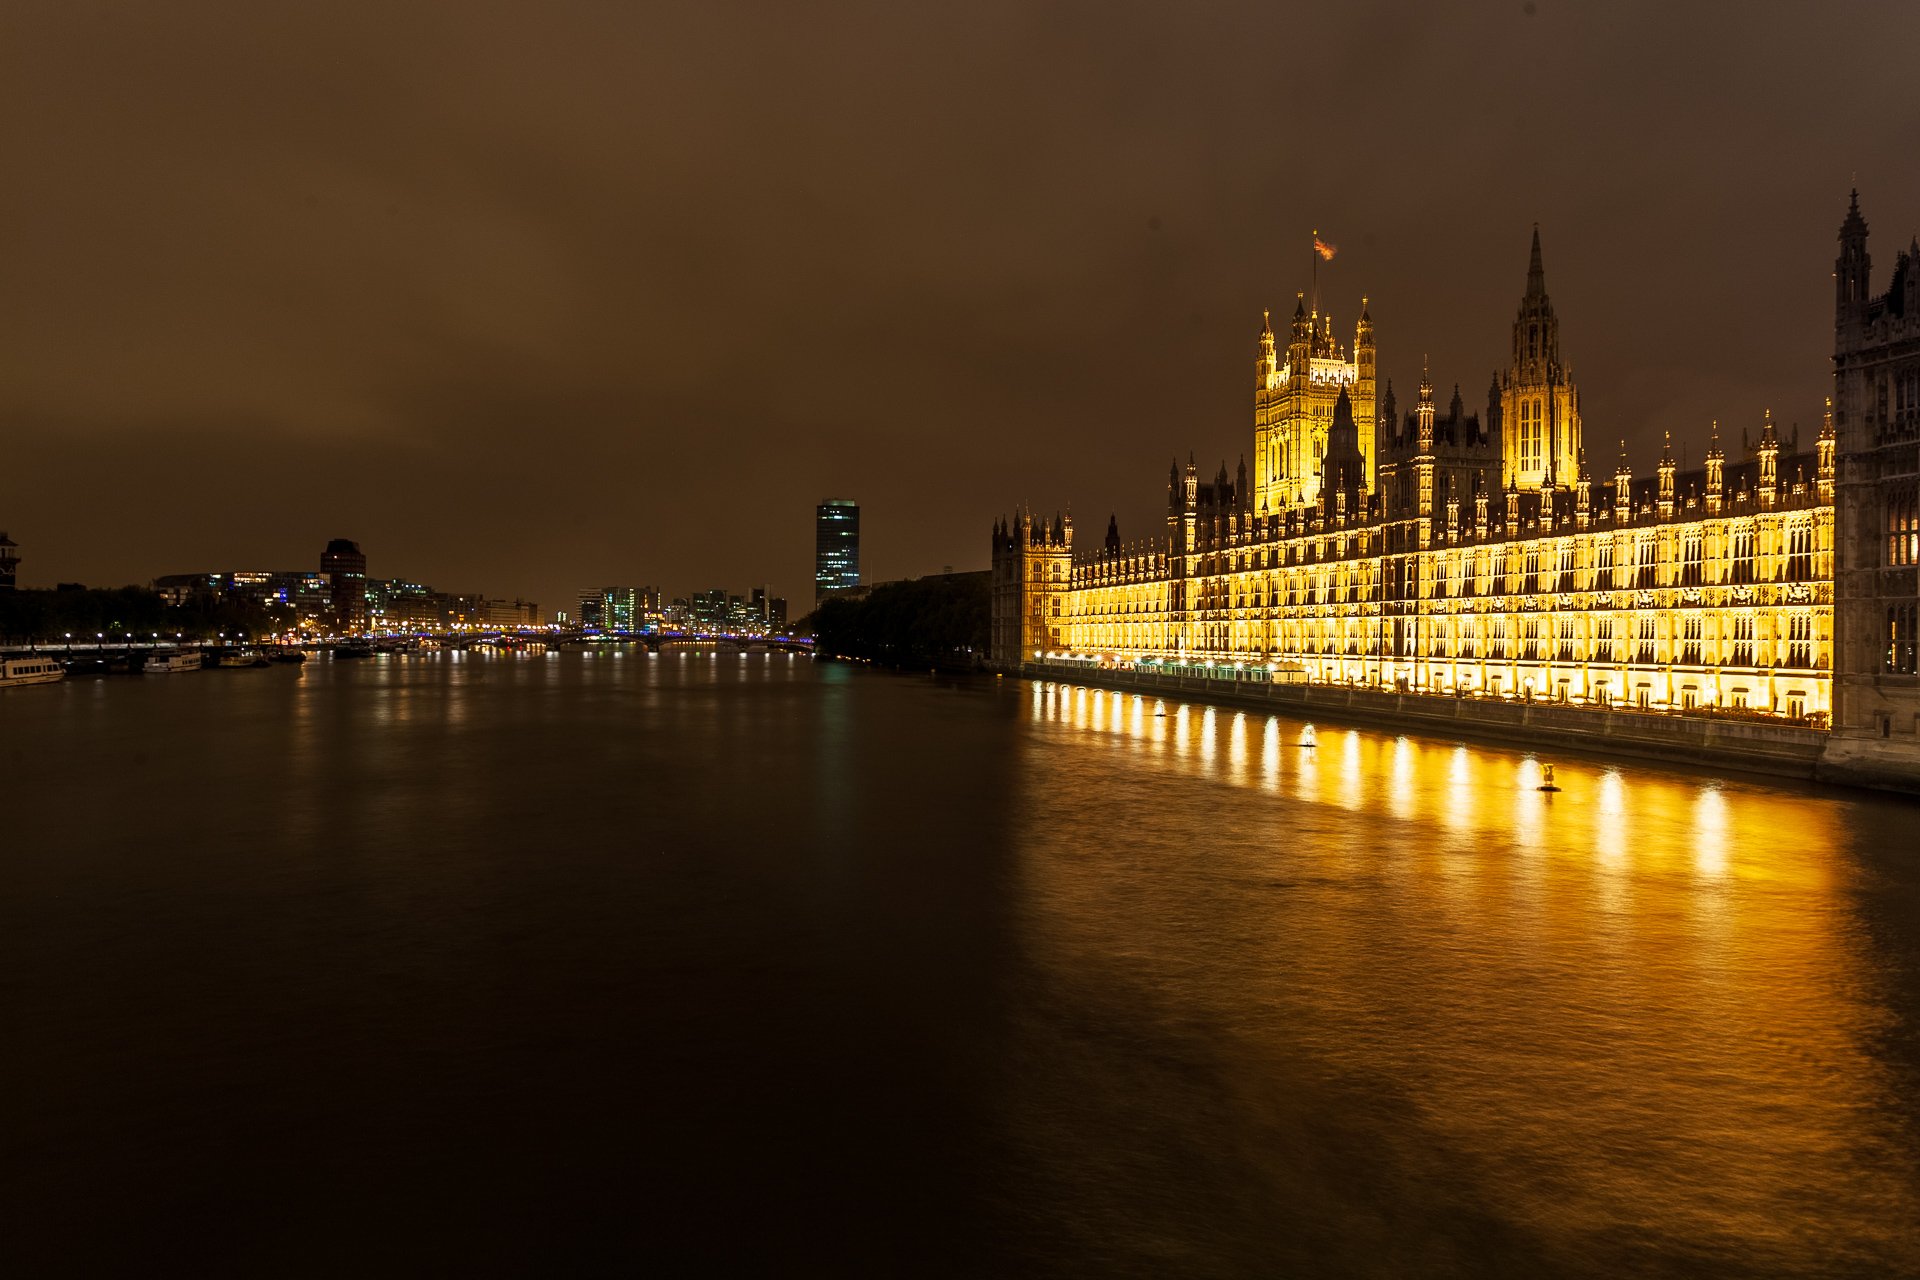
I attended the Nigel Wilson Photography Night Course yesterday evening, it was an excellent event, a talk followed by a guided walk around the waterloo area. It was a really useful event and it gave me a lot of ideas about how I can improve my evening photography. Its a very different approach than what I'm used to doing with low light work, which has been gigs.


There were about nine of us on the course, with a wide selection of cameras. Nigel took us through a series of tips, tricks and advice. The core things that I learned were
Aperture Priority: As, at night, you will be shooting on a tripod because there is limited light, there is little point controlling shutter speed and because we are shooting things at a distance, there is little problem with shooting at the widest aperture that the lens can manage.
Lowest ISO: As we were using tripods and a slow shutter-speed anyway, there is limited point in shooting at a high ISO to try and get a faster speed when its going to be multiple seconds. As such, go as low as possible to get the best image. Canon tip: The EOS 1D Mark III has a custom setting to increase the ISO to 50, though it displays on screen as L
Bracketing for exposure: Nigel suggested we shoot at standard 0, +1 and -1 and -2 to see the effects of different exposures on the shots. His point was that at night, there is no such thing as 'correct' exposure, but rather what works for the image, it might be extremely overexposed but work because of the blinding lights. Canon tips:The EOS 1D Mk3 has a huge advantage here, as you can set up the automatic bracketing, and you can choose the midpoint. I set up a 7 bracket exposure and had it shooting between-3 and +1 giving me a wide range of possible options. On top of this, it gives me the opportunity to combine the images into an HDR shot.
2 Second Timers & Cable Release: In order to minimize camera shake, it was recommended to use a cable release, or failing that to use a 2 second timer, sot that the camera has time to restabilize after the photo is taken. Canon tip: using the 1d, with the auto exposure bracketing, it will fire off all seven shots one after the other, even in 2 second timer mode, this is a real advantage as it means after a single press of the button the tripod remains totally steady.
Manual focusing: Focusing at night is extremely tricky, something I'd discovered previously when trying night shoots, they image looks good on the little LCD, but when it came to blowing it up on the big screen it was blurred. Canon tip: With the 1d, you can use the LCD screen and zoom in to 5 or 10 times magnification. this is a HUGE boon when shooting a night scene, as you are able to choose a very specific point and ensure you are focused accurately.
Light Trails: Nigel gave various advice on shooting light trails, most important is location, finding somewhere where you will get a good speed of passing traffic. On top of that, you need a second or two of exposure. personally, I was wishing I had a flash which could sync with the rear curtain to capture the vehicle as well as the trail.
Sealing the eyepiece: When shooting with long exposures, light can creep in through the eyepiece and ruin a good shot. anon Tip: On a high end Canon dSLR, there is often a switch on the side of the eyepiece which shuts off the eyepiece and prevents light coming in. Additionally, swapping to the LCD screen on the 1D also closes off the eyepiece.
Tripods: A tripod is a must for night shooting, and a decent one is more than worth the money. I discovered just how poor my tripod was when it was used this evening. It was completely unable to cope with the weight of the 1d, and so I was unable to shoot portrait images at all, and landscapes had to be more or less level, as the screw couldn't manage to hold the camera steady aiming upwards.